Creating an Event in a Component
Step 1: Navigate to the Dataflow Page
Navigate to the Dataflow Page by following these steps.
Step 2: Add an Event
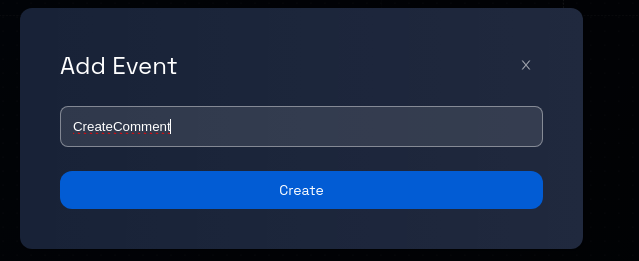
On the dataflow page, locate and click on the "Add Event" button. Upon clicking the "Add Event" button, a dialogue box will appear, allowing you to input information about the event you intend to create.

Step 3: Enter the Event Name
Within the dialogue box, you will see a field labeled "Name". Enter a descriptive name for the event you wish to create within the dataflow.

Step 4: Review and Verify
Take a moment to review the event name you've entered to ensure it accurately reflects the purpose of the event.
Step 5: Click "Create"
After the review, locate the "Create" button within the dialogue box and click it.
Step 6: Event and Dataflow Creation Process
After clicking "Create," Design Studio will process your request and generate the new event within the selected component's dataflow.
Step 7: Confirmation and Completion
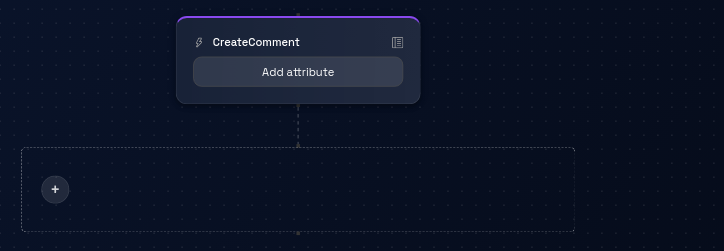
Upon successful event creation, you will see a box with a purple border representing the event. Additionally, you might notice an edge connecting the event to the dataflow.

Step 8: Continue Working with Dataflows and Events
You can continue adding more events or explore other features and options provided by the platform for data modeling and design.
Congratulations! You've successfully learned how to work with components, dataflows, and events in a model.