Deleting Components from Data Models: A Step-by-Step Guide
Step 1: Click on the Model Card
In the Design Studio dashboard, click on the card representing the desired model. This will take you to the "Data model" page.
Step 2: Select the Component
On the data model page, use one of the following methods to select the component you want to delete:
- Method 1: Click on the tab representing the component at the top of the page.
- Method 2: Find the component's name in the left panel and click on it.
Step 3: Open the Component's Panel
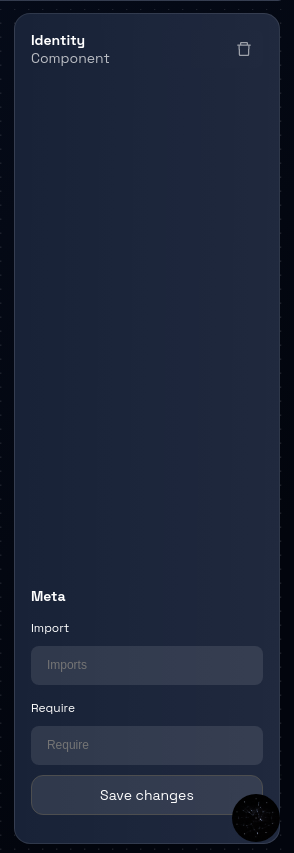
Upon selecting the component, a panel will open on the right-hand side of the page. This panel contains information related to the chosen component.

Step 4: Delete the Component
Within the opened component panel, locate and click on the "trash" icon. This icon is used to initiate the process of deleting the selected component.
Step 5: Confirmation Prompt
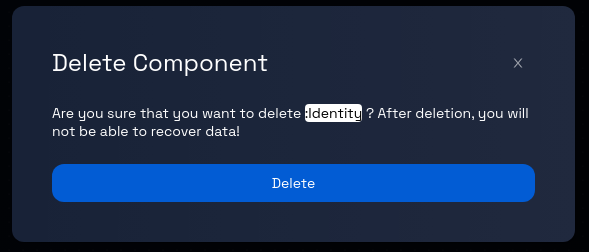
After clicking the "trash" icon, you will receive a confirmation prompt to ensure you want to proceed with the deletion. This prompt is designed to prevent accidental deletion.

Step 6: Confirm Deletion
If you are certain about the deletion, proceed by clicking the "Delete" button, as indicated in the prompt. (To cancel the delete request, click the X button on the top-right corner of the prompt.)
Step 7: Component Deletion Process
After confirming the deletion, the Design Studio will begin the process of removing the selected component from the data model.
Step 8: Review and Continue
Review the Data model page to ensure that the deleted component is no longer present.
Congratulations! You've successfully learned how to delete a component from a data model.